How to Capture Perfect Silhouettes in Low-Light Photography
Low-light photography can be challenging, but it can also result in stunning silhouettes. Silhouettes can add drama and mystery to your photos, making them stand out. Here are some tips to help you capture perfect silhouettes in low-light conditions:
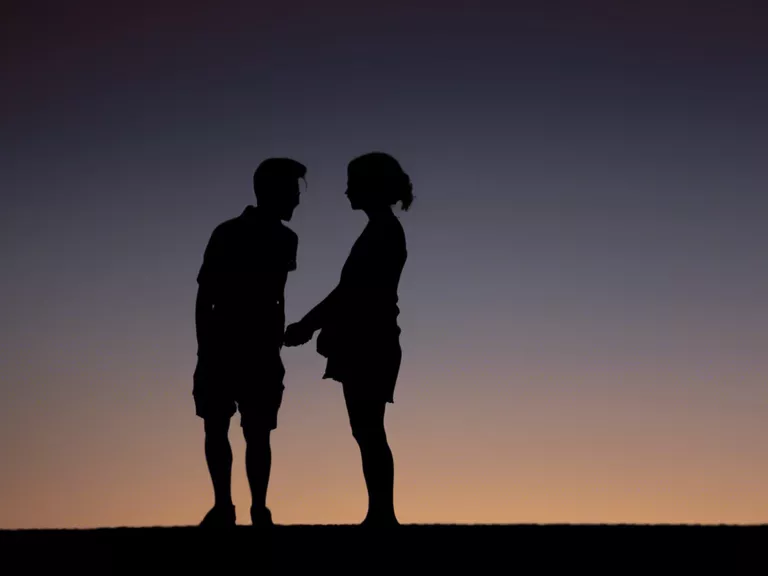
Find the Right Location: Look for locations with strong, defined shapes and clean lines. This could be a city skyline, a lone tree against the sky, or a person standing on a beach. The simpler the silhouette, the more effective it will be.
Use Manual Mode: When shooting in low light, using manual mode will give you more control over your camera settings. Start by setting your ISO to the lowest setting to reduce noise in the image. Then adjust your aperture to a mid-range setting (around f/8 to f/11) to keep the silhouette sharp. Finally, set your shutter speed to expose for the background while keeping your subject dark.
Focus on the Light Source: When shooting silhouettes, the light source behind your subject is key. Position your subject between the camera and the light source to create a strong contrast between the subject and the background. This will help define the silhouette.
Experiment with Exposure: Don't be afraid to experiment with your exposure settings to achieve the perfect silhouette. Try slightly underexposing your image to darken the subject and enhance the contrast between the subject and background. You can always adjust the exposure in post-processing if needed.
Use a Tripod: In low-light conditions, using a tripod can help you steady your camera and reduce camera shake. This is particularly important when shooting at slower shutter speeds to expose for the background. A stable camera will result in sharper silhouettes.
By following these tips, you can capture perfect silhouettes in low-light photography. Experiment with different settings and compositions to create unique and striking images that will leave a lasting impression.


